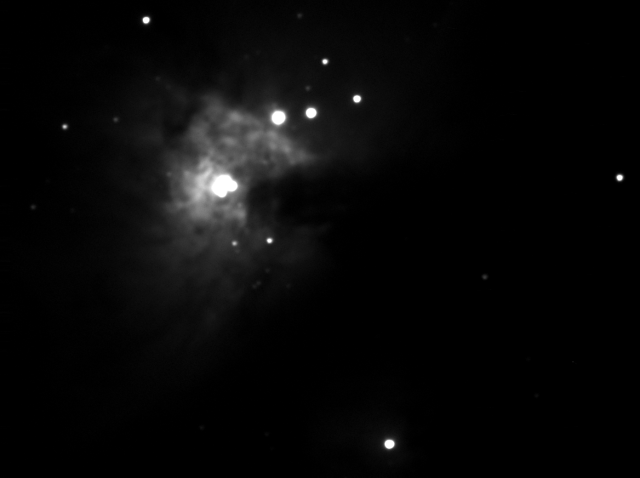
L filter image
Contributed by: evilscientist
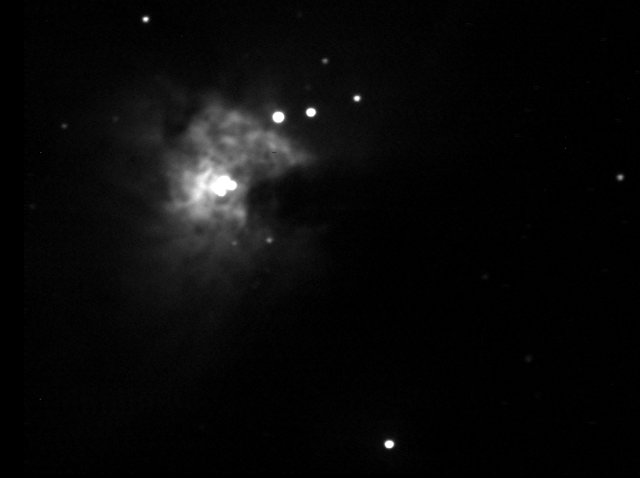
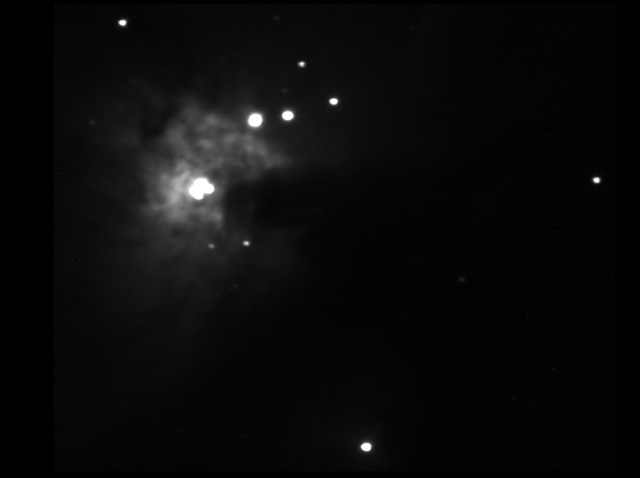
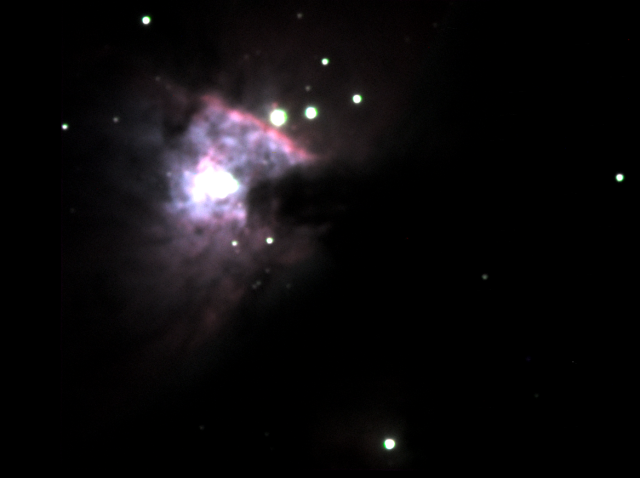
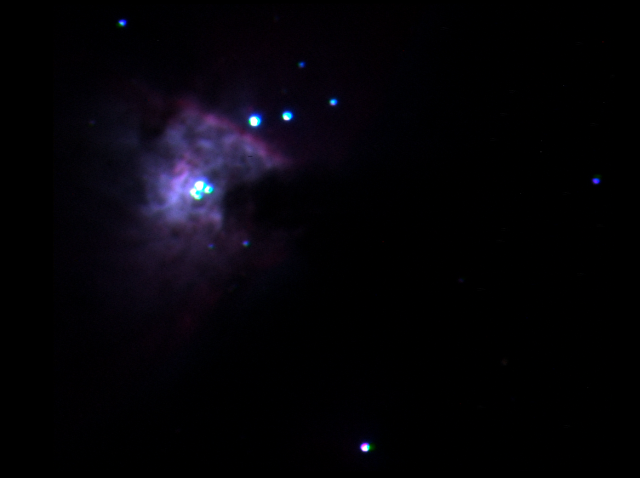
Well really another photo of the same thing, M42 but with longer exposure (4x30 seconds for a total of 2 minutes) and different filters. Why the fascination with M42 (The Great Nebula in Orion)? Well a few reasons. First I'm still learning the ins and outs of my new imager so by using the same object I can compare what happens when I change things. Second, M42 is bright so easy to photograph with relatively short exposures. Third, since I'm doing this from my backyard in the suburbs of Calgary, the light pollution is brutal and the brightness of M42 again makes it easy to image.I've tweaked the balance of the mount so I've been able to increase individual exposures from 15 to 30 seconds. I've also added a filter to the mix (since my filter magazine can hold 5 filters). This means I have filters for luminance (L), that is a UV and IR cut off filter allowing light between ~375nm to ~675nm through (basically only passing visible light from violet down to red). Red (R)(~650nm to ~675nm), green (G)(~500nm to ~575nm) and blue (B)(~375nm ~525nm) filters to make the RGB colours and the new filter is a high contrast filter (UHC) that only allows from about ~475nm to about ~510nm which covers the emission lines for hydrogen beta, and two oxygen III lines. This blocks out much of the light pollution while still allowing light from the nebula (which is made up of hydrogen, oxygen and other gasses) through. This can be seen with the following three images which are taken using the L, UHC and B filters. The difference can be seen in the group of stars just below the Trapizium (the tight group of 4 stars in the centre of the nebula). In the L filter, where the sensor was given the full spectrum of visible light there are 4 dim stars visible below the two brighter stars below the Trapizium. In the B filter they are much dimmer and in the UHC filter they virtually disappear. This is because they are cooler, redder stars and the filters block out their light.
L filter image
UHC filter image
B filter image
This shows a neat trick one can use filters for, that is determining star colour and hence star temperature. By looking at what filter a star is brightest in we can get an idea of how hot it is. With the proper filters one can work out the colour index (B-V) though a photographic RGB filter set isn't compatible with this (a Cousins or Johnson UBVRI set would do this, but costs $$$$). It also provides the ability to highlight various gasses in an object. Below is the combined LRGB image of M42 from this dataset. This is the standard method of producing a colour image.
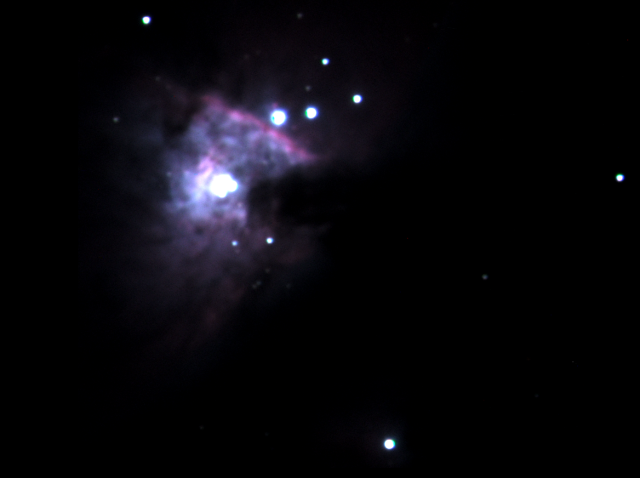
LRGB full colour image of M42 - 2 minutes total exposure - click image to enlarge
Here's the same image with the UHC filter replacing the blue filter.
The image is obviously more red, as the amount of blue intensity is lower with the UHC filter, but more nebula detail is visible as some of the atmospheric haze from the full blue spectrum is blocked out by the filter. The next image has the L filter replaced with the UHC filter while keeping the RGB filters.
UHC-RGB colour image of M42 - 2 minutes total exposure - click image to enlarge
Since the computer uses the "L" channel to determine brightness when combining the monochrome images, using the UHC filter instead of the L filter does two things. First the image appears dimmer. This is expected as the UHC filter lets in about 12% of the light that the L filter allows in. Second the image has significantly more detail in the gas of the nebula, due to the fact that most of the light that is now making up the brightness channel is due primarily to the glowing gas of the nebula and not the glow in the sky due to light pollution, sky glow and scattering. Taking more UHC images and stacking them (or longer images) would help bring the brightness up to the same level as the L filter.
Now this also shows the advantage of a monochrome imager over a full colour imager. Though the full colour imager makes taking photos easier as you only need to take 1/3 of the images, it isn't as efficient at using filters. For example, using the UHC filter on a colour imager would mean that only 1/3 of the pixels (the blue ones) on the chip would be used as the red and green pixels would be insensitive to the light passing through the filter. On the other hand every pixel of a monochrome imager is used regardless of the filter that's being used, increasing the efficiency of imaging with filters. The downside of a monochrome imager of course is that three to four separate exposures need to be taken for each image.
Anyhow, this Friday is supposed to be clear and since I'm not curling, time to try some more!
Evilness
http://www.evilscientist.ca/article.php?story=2011020919583638